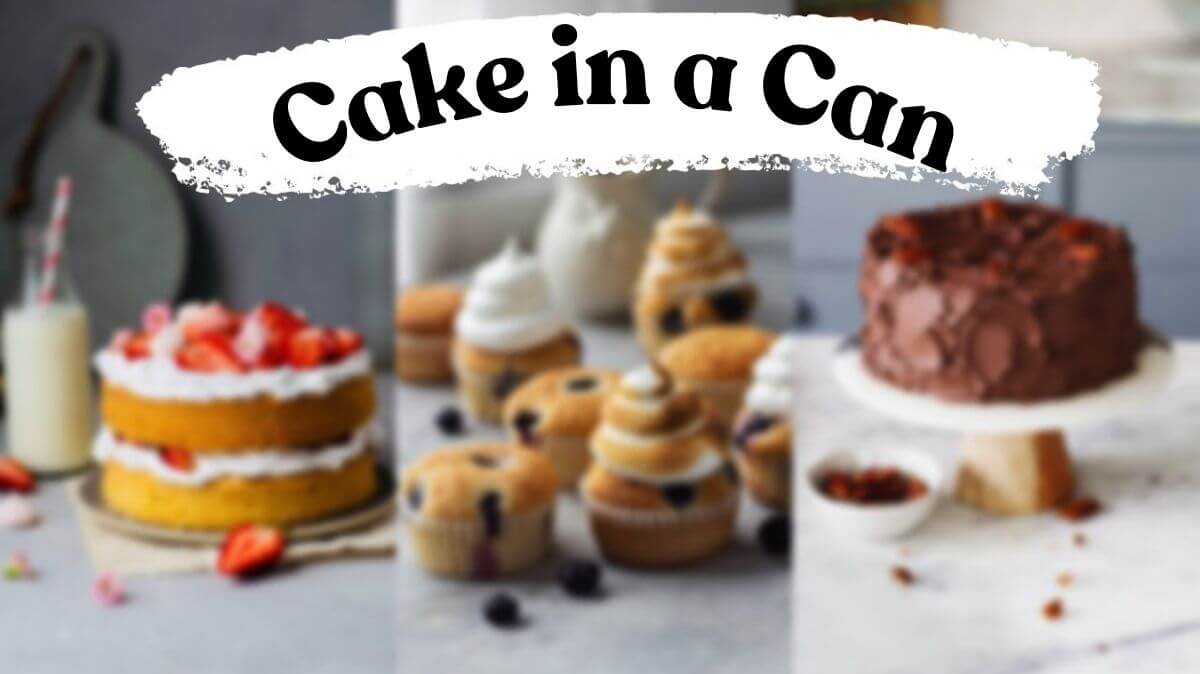
Introduction to Cake in a Can
Imagine pulling a perfectly baked cake right out of a can. It sounds quirky, fun, and downright delicious! Baking cakes in cans has surged in popularity as an innovative way to create individual servings or unique gifts for friends and family. This method not only adds charm but also makes cleanup a breeze. Whether you’re looking to impress at your next gathering or simply want to try something new in the kitchen, Cake in a Can is the delightful trend you didn’t know you needed. Let’s dive into this creative baking adventure!
Choosing the Right Canned Container
When it comes to baking a cake in a can, selecting the right container is crucial. Not all cans are created equal; some work better than others. Look for clean, empty food cans that have straight sides and no sharp edges.
Aluminum cans are often preferred because they conduct heat evenly. This helps your cake bake uniformly without any hot spots. Avoid plastic or coated containers, as they may not withstand high oven temperatures.
Size matters too! A standard 15-ounce can typically holds enough batter for a single serving or two small cakes. If you’re feeling adventurous, try using larger or smaller cans to create varying sizes of treats.
Always ensure the can is properly cleaned and dried before use. Any residue could affect taste and texture—definitely not what you want from your delicious creation!
Preparing the Can for Baking
Before you start baking, it’s essential to prepare your can properly. This step ensures that your cake releases easily and bakes evenly.
Start by selecting a clean, empty can. Make sure it’s free from any labels and residue. A 15-ounce vegetable or soup can works well for most recipes.
Next, grease the inside thoroughly with cooking spray or butter. Don’t skimp on this part; an even layer prevents sticking.
For added flavor and texture, consider dusting the greased interior with flour or cocoa powder—this creates a delightful crust on your cake.
Preheat your oven before placing the prepared cans inside. Keeping everything ready helps maintain consistent baking temperatures for perfect results every time.
Always leave some room at the top of the can when adding batter—it needs space to rise!
Basic Cake Batter Recipe for Cans
Creating the perfect cake batter for your can baking adventure is simple and fun. Start with a classic recipe that’s easy to customize.
Begin with one cup of all-purpose flour, half a cup of sugar, and a pinch of salt. These dry ingredients set the foundation. In another bowl, mix together half a cup of milk, one egg, and a teaspoon of vanilla extract.
Slowly combine the wet ingredients into the dry mixture until smooth. Avoid overmixing; lumps are okay! For added flavor or texture, consider folding in chocolate chips or nuts.
Consider adding zest from citrus fruits like lemon or orange for an unexpected twist. This basic batter serves as an ideal canvas for your creativity while ensuring delicious results every time you pop those cans in the oven!
Also Read: Shield Tattoo: A Blend of Strength and Artistry
Tips and Tricks for Successful Can-Baking
To achieve the best results when baking cake in a can, start by preheating your oven. This ensures an even bake from the get-go.
Grease your cans thoroughly to prevent sticking. Use butter or cooking spray and make sure to cover every inch inside.
Fill each can only halfway with batter. Cakes rise significantly during baking, so avoid overflow messes.
Consider using a water bath for gentle heat distribution. Place your filled cans in a larger dish filled with hot water before sliding them into the oven.
Check for doneness early; canned cakes may bake faster than traditional methods. A toothpick inserted should come out clean when they’re ready.
Let the cakes cool completely before removing them from the can. Patience here pays off big time!
Alternative Baking Methods for Canned Cakes
Canned cakes can be made using various baking methods beyond the conventional oven. One popular alternative is the microwave. This method significantly reduces cooking time while providing a surprisingly moist cake.
Another option is to use a stovetop steamer. Place your prepared cans in a steaming basket over boiling water for about 30-40 minutes, ensuring they are covered with a lid. The steam creates an evenly cooked texture without drying it out.
For those adventurous bakers, try grilling! Wrap the cans in aluminum foil and place them on medium heat on your grill. This technique imparts a unique flavor that adds depth to your cake.
Consider using an Instant Pot or pressure cooker for quick results. With minimal effort, you’ll have delightful cakes ready to enjoy in no time! Each of these methods offers its own flair to this fun baking trend.
Conclusion
Baking a cake in a can opens up a world of creativity and fun. With the right tools and techniques, it’s easy to whip up delicious cakes that are perfect for sharing or gifting. Remember to choose your can wisely; it’s essential that it’s clean and food-safe.
Preparing the can properly is crucial for an even bake and safe removal of your cake. Follow our basic batter recipe, but feel free to experiment with flavors! From classic vanilla to indulgent chocolate or zesty lemon, there are endless possibilities.
Utilizing tips like adjusting baking times based on size will ensure success every time you venture into this unique baking method. And if you’re feeling adventurous, explore alternative methods like steaming or using microwave-safe containers for quick treats.
Whether you’re new to baking or looking for a fresh twist on traditional recipes, making cake in a can adds an element of surprise that’s sure to delight everyone involved. Happy baking!